English
 русский
 简体中文


How to Use a Sawing Machine: From Blade Tension to a Clean Cut
Sewing machines and sawing machines share a vocabulary: tension, feed, table, needle. The resemblance stops there. On a metal sawing machine the material is a solid steel bar or a bundle of tube, the blade is a continuous loop of hardened teeth, and one wrong setting costs a blade, a tolerance, or a finger.
The working answer comes first. Clamp the workpiece, tension the blade, set speed and feed for the material, then let the machine's hydraulics or servo feed control the descent. You never push the head through the work. Angle cutting, bundle cutting and coolant concentration are adjustments layered on top of those four moves.
Which Type of Sawing Machine Are You Running?
The operating steps differ by machine type, so identify yours before touching a dial.
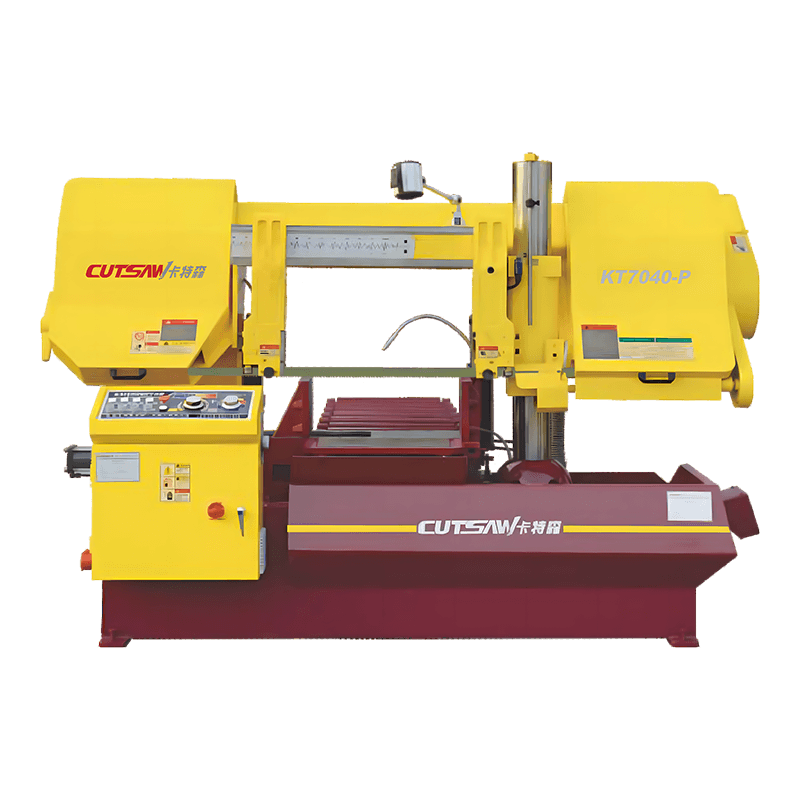
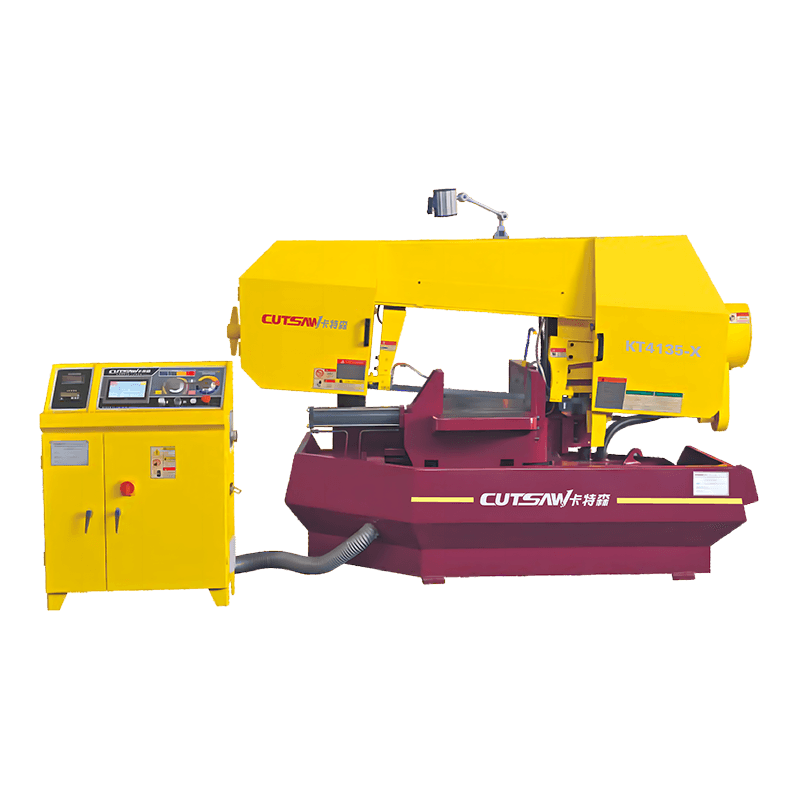
- Horizontal band saw: the workhorse of fabrication shops. The blade runs in a vertical plane and the head descends onto bar, tube, profile and small plate.
- Vertical band saw: the table stays still and the operator guides the workpiece, which suits one-off shapes, contours and splitting work.
- Circular sawing machine: a carbide-tipped disc cuts plate, tube and solid stock dry at high surface speed, with feed handled by a servo carriage.
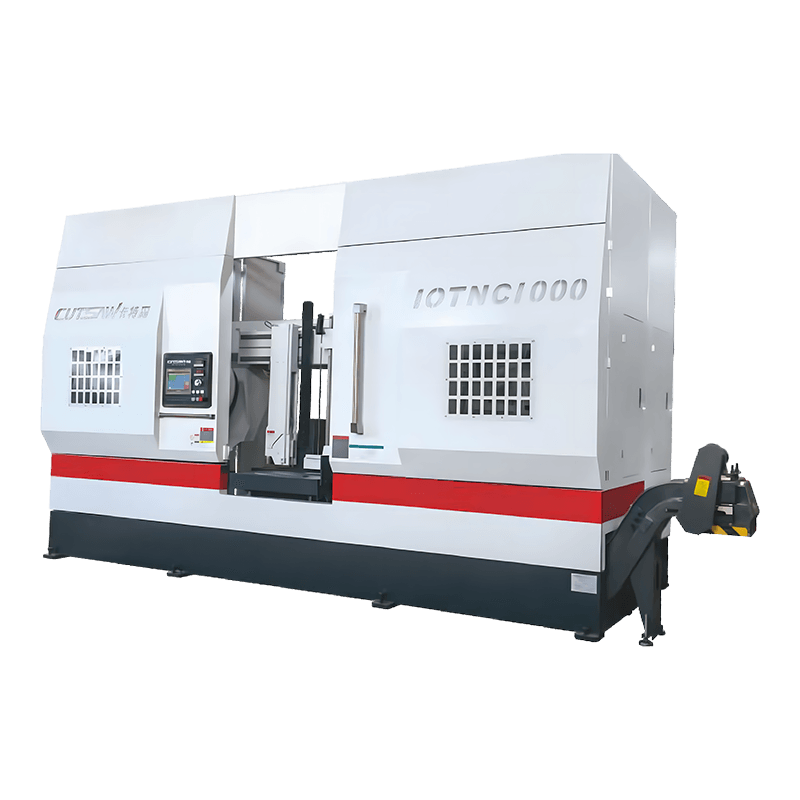
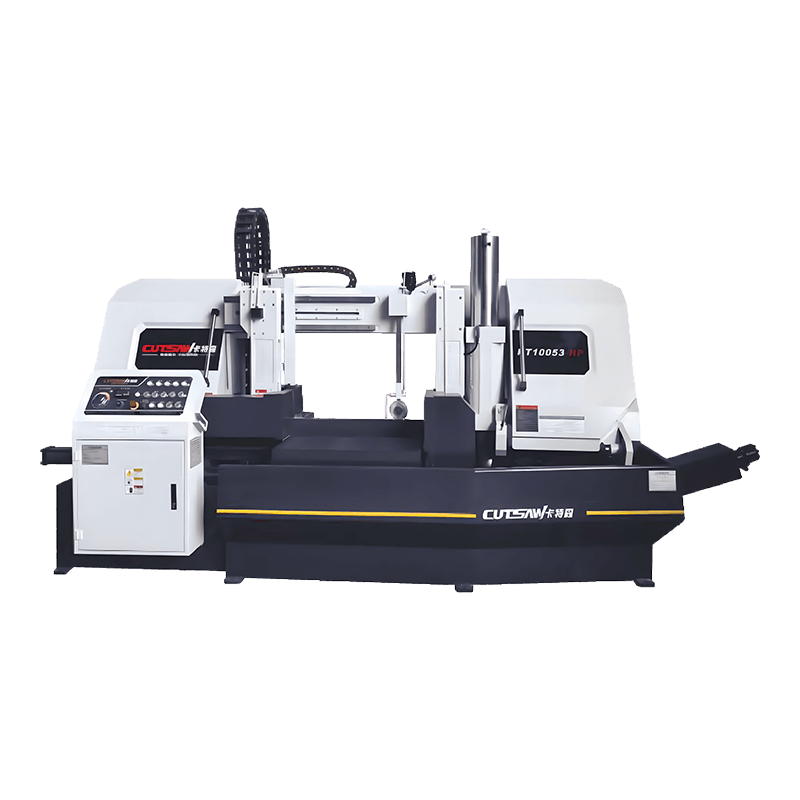
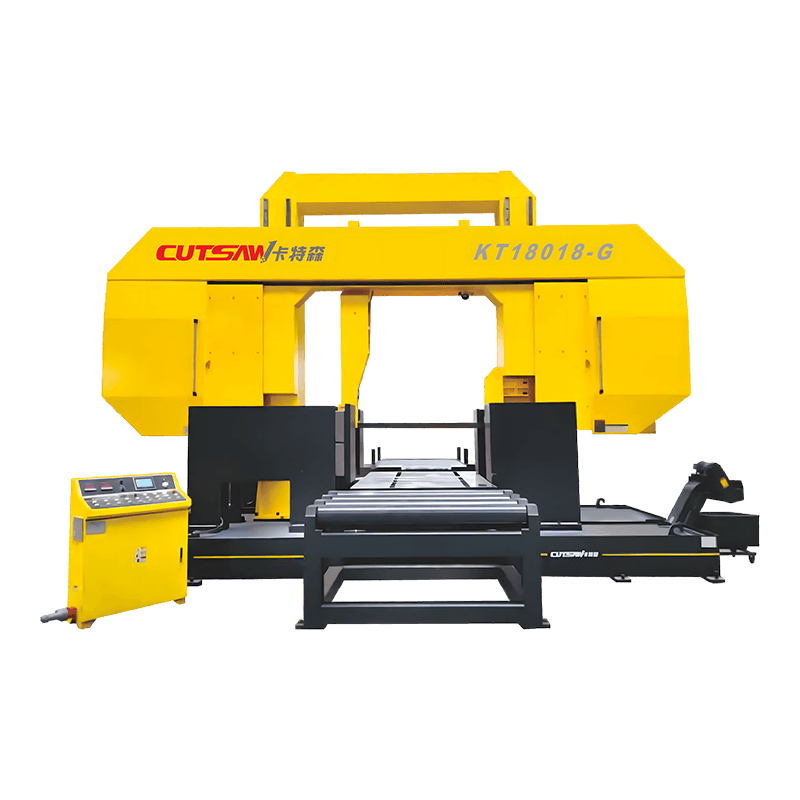
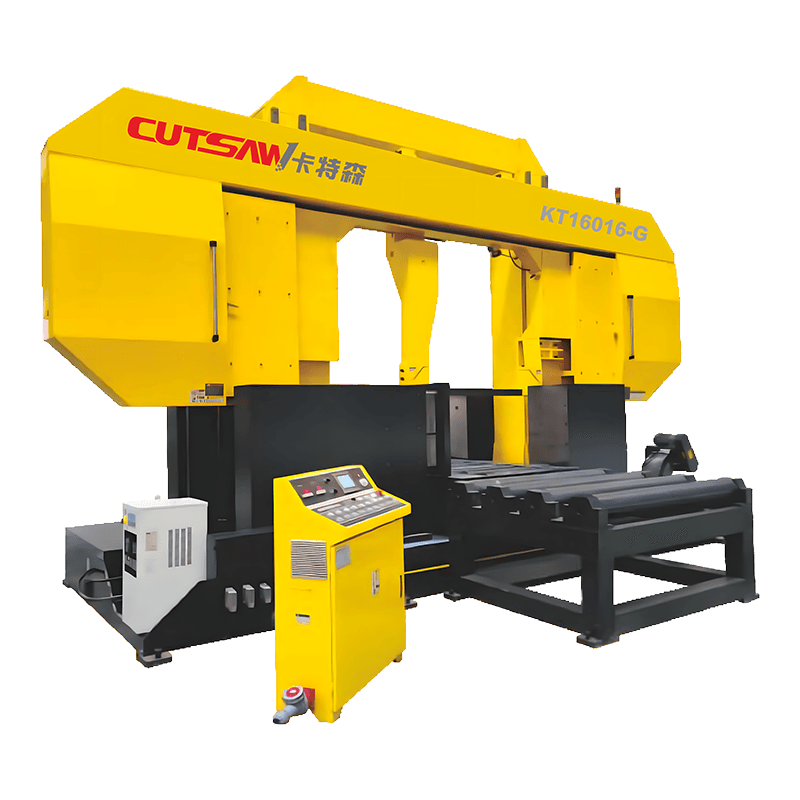
- Gantry and plate saws: built for large cross-sections and sheet, where the head travels on rails instead of pivoting.
The sequence below is written for a horizontal band saw, because that is what most buyers mean by the term, and because the same logic transfers to other types once you know where the feed is controlled.
Setup Checks Before the First Cut
Most bad cuts are decided before the blade touches metal.
- Blade tension: push the blade sideways midway between the guides. A common starting point is roughly 1 mm of deflection per 100 mm of free span. Too loose and the blade wanders; too tight and the backing edge fatigues.
- Guide arm position: bring the carbide guides as close to the vise as the workpiece allows. Every extra millimetre of unsupported span is a place where the blade can twist.
- Coolant: mix soluble coolant to the concentration on the label, usually 5 to 10 percent, and confirm flow before the cut rather than during it.
- Clamping: seat the material on its flattest face and keep the cut close to the jaws. Thin-wall tube and profile need a fixture or bundle clamp, not heavier vise pressure.
- Tooth pitch: 4 to 6 teeth per inch for heavy solid sections, 8 to 10 for general work, and 14 to 24 for thin tube so at least three teeth stay engaged.
Step by Step: Making the First Cut
- Raise the head, open the vise, and clean chips and coolant residue off the bed and jaws.
- Set the material against the back jaw, clamp it, and lower the head until the blade sits just above the cut line.
- Select blade speed for the material, then start the blade and the coolant. Wait for full speed before contact.
- Engage the feed at a light rate for the first few seconds so the blade establishes a groove.
- Increase to the working feed rate and stand clear of the cutting zone, watching chips rather than the clock.
- Reduce feed in the last few millimetres so the blade does not drop through and chip the exit edge.
- Raise the head, stop the blade, and only then unclamp and measure the part.
If the machine has a programmed cut counter or servo feed, enter the length and the quantity before the first cut rather than after. Restarting mid-batch is how length drift creeps in.
Blade Speed and Feed Rate by Material
Speed ruins more blades than any other variable, because it is the easiest one to leave where the last job set it.
| Material | Blade speed (m/min) | Feed character | Watch for |
|---|---|---|---|
| Mild steel, solid bar | 60-90 | Steady, medium | Chip welding on the tooth tips |
| Stainless steel | 25-45 | Light, constant | Work hardening if the teeth rub |
| Aluminium | 300-900 | Fast, heavier | Clogged gullets; use a coarse pitch |
| Alloy and tool steel | 40-60 | Light | Heat build-up at the tooth tip |
| Bundled tube and profile | 60-80 | Reduced, with a clamp | Chatter stripping teeth |
What the chips tell you
Silver or light-straw chips mean the cut is running well. Thin, powdery chips mean the feed is too light and the teeth are rubbing instead of cutting. Blue or brown chips mean the blade is running too fast for the material. This is the same logic that sits behind precision cutting on CNC band sawing machines, where speed and feed are held steady by the control rather than by an operator's hand.
Angle and Mitre Cutting
Swivel-head machines rotate the blade; other designs rotate or index the material. Both need the same habit: prove the angle before you run the batch.
A 0.2 degree error is invisible on one part and obvious on a 300 mm weldment, where it becomes about a millimetre of drift at the far end. Cut two scrap pieces at the required angle, check them against a square or protractor, and adjust the stops before the first production cut.
On mitre cuts the blade engages more material, so reduce feed slightly and keep the clamp close to the cut. Support long parts at the outfeed side. An unsupported overhang moves under cutting force and turns a good angle into a tapered one.
Safety Practice That Also Protects the Cut
- Keep the guard down and the blade guides in position. Guards are part of the accuracy chain, not a legal formality.
- Isolate the machine before changing a blade, clearing a jam, or reaching into the cutting zone.
- Never clear chips with bare hands or an air line. Use a brush, and remember that a broken blade can recoil through the zone.
- Keep the floor around the machine dry. Coolant on concrete is the most common cause of a fall in a saw bay.
- Support long stock on both sides of the vise, and never stand directly in line with the blade plane.
Circular Sawing Machines: Different Motion, Same Discipline
A carbide circular saw throws chips dry and relies on rigid clamping and a controlled servo feed rather than flood coolant. The setup logic still holds: correct blade for the material, tight clamping, and a feed rate the teeth can survive.
Circular saws cut plate and tube faster than band saws, but they forgive loose clamps less, because each tooth interrupts the cut and pushes the workpiece. Check blade run-out and clamp pressure on every setup, and keep the cutting area clear so chips cannot recirculate into the kerf. Shops that cut a lot of plate usually run high-speed metal circular sawing machines alongside a band saw rather than choosing one over the other.
Bundle Cutting and When Automation Earns Its Price
A single-operator shop can cut a surprising volume on a semi-automatic saw. Automation starts to pay when the queue grows, when bundles of tube must be cut in one pass, and when length tolerance has to hold across hundreds of pieces without an operator standing at the machine.
Look for servo-controlled feeding, a programmable cut counter, and enough clamping force to keep a bundle square. Vertical clamps shorten cycle time, but only when the material is straight and the bundle is clamped evenly. A bowed tube twists under pressure and takes the blade with it.
Maintenance That Keeps the Machine Cutting Square
- Daily: check coolant level and concentration, clear chips from the bed and conveyor, and confirm the wire brush still contacts the blade.
- Weekly: inspect guide bearings and carbide inserts for flats, and look for cracks near the blade weld.
- Monthly: check hydraulic oil, vise jaw alignment and wheel condition, and re-tension a new blade after its first few cuts.
- Ongoing: log every blade and the square metres it cut. A sudden drop in blade life usually points to coolant, tension or a worn guide, not to bad blades.
Bringing It Together
Using a sawing machine well is mostly a matter of sequence. Clamp the work properly, tension and guide the blade, choose speed and feed for the material, then let the feed system do the cutting while you watch the chips. Prove the angle before a batch rather than after it. Keep coolant and guides in condition, and the machine will hold tolerance for years instead of weeks.
Band, circular, vertical and gantry machines change the details, not the discipline. Get the setup right once, and every cut after it becomes repeatable.